

The Tesla Red Multi-Coat Finish is a durable, protective system renowned for its vibrant hue and ability to ward off chips, swirls, and damage. Home repairs involve meticulous sanding, priming, and repainting with high-quality paints to match the original finish precisely. For extensive damage, consult a professional auto body shop specializing in Tesla red multi-coat repair.
“Discover the art of restoring your Tesla’s iconic red multi-coat finish. This comprehensive guide delves into the common issues of chips and swirls, detrimental to the vehicle’s aesthetic appeal. Learn how to effectively address these defects using a step-by-step repair process tailored for the unique Tesla red multi-coat finish. By following this guide, you’ll master the technique, ensuring your Tesla retains its vibrant and protective exterior coating.”
- Understanding Tesla Red Multi-Coat Finish
- Common Issues: Chips and Swirls
- Step-by-Step Guide to Repair Process
Understanding Tesla Red Multi-Coat Finish
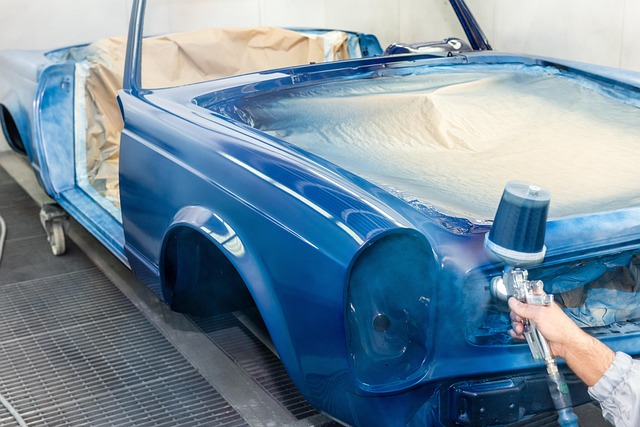
The Tesla Red Multi-Coat Finish is a unique and distinctive feature of Tesla vehicles, renowned for its vibrant hue and protective properties. This advanced coating system is designed to withstand the rigors of daily driving while maintaining its stunning aesthetic appeal. Comprised of multiple layers, each with specific functions, it offers superior durability against chips, swirls, and other forms of car bodywork damage. The topcoat provides a rich, glossy finish that not only enhances the vehicle’s visual appeal but also serves as the final barrier against environmental factors.
Underneath, specialized intermediate coats act as a bond between the base coat and the car’s paint, ensuring optimal adhesion and long-lasting protection. These layers work in harmony to protect the underlying paint from fading, chipping, or other types of damage, making Tesla Red Multi-Coat Finish a game-changer when it comes to vehicle dent repair and maintaining the overall integrity of the car bodywork.
Common Issues: Chips and Swirls
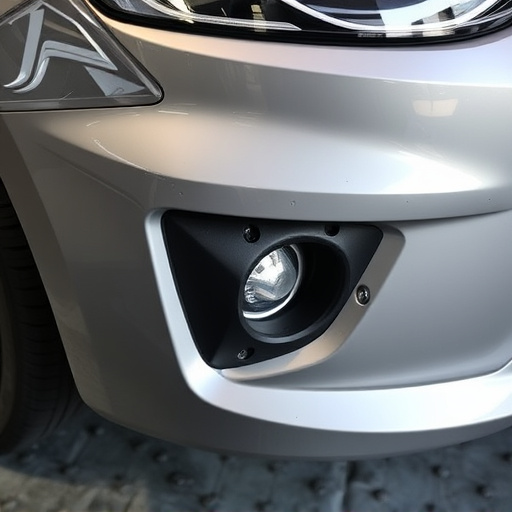
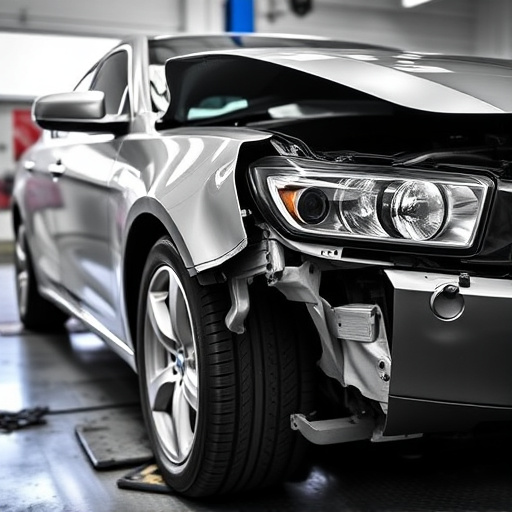
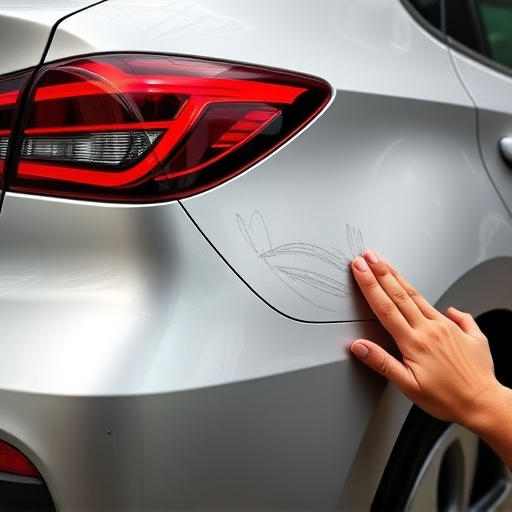
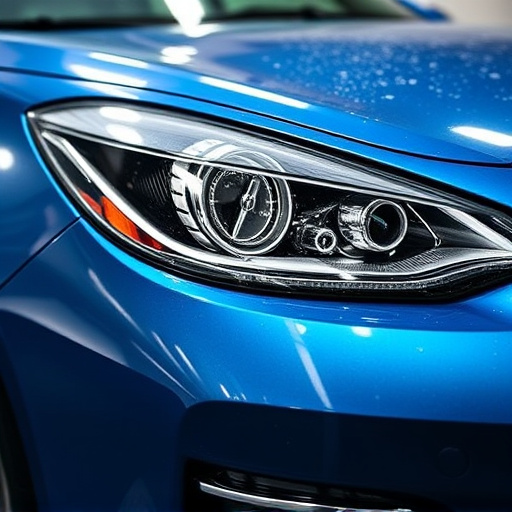
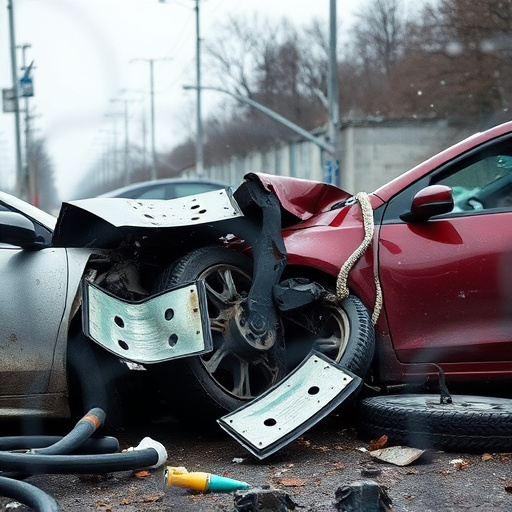
Chips and swirls are among the most common issues that Tesla owners face, particularly with the shiny red multi-coat finishes on their vehicles. These defects can range from small nicks and scratches to deeper chips and gouges in the paint, which not only affect the aesthetic appeal but also compromise the car’s protective layer. Caused by a variety of factors including road debris, parking lot bumps, or even minor collisions, these imperfections require careful attention to restore the vehicle’s original appearance.
Tesla red multi-coat repair involves a meticulous process that includes sanding, priming, and repainting the affected areas. Skilled technicians use specialized tools and high-quality paints to match the exact shade and texture of the original finish, ensuring a seamless blend that is virtually indistinguishable from the rest of the vehicle. Efficient collision damage repair or auto body repairs are crucial to not only enhancing the car’s curb appeal but also protecting its resale value.
Step-by-Step Guide to Repair Process
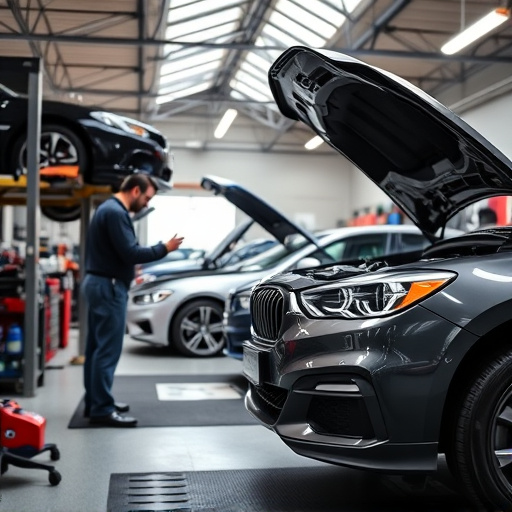
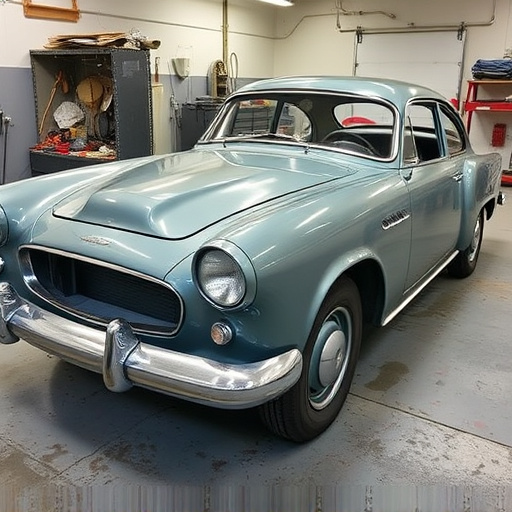
Repairing a Tesla’s red multi-coat finish involves a meticulous process that can be tackled at home or with the help of a professional car repair shop. Here’s a step-by-step guide for both approaches:
1. Assessment: Begin by closely examining the chips and swirls on your Tesla’s paintwork. If the damage is minimal, you might be able to handle it yourself. For more extensive scratches or complex damage, consider taking your vehicle to an auto body shop specializing in car scratch repair.
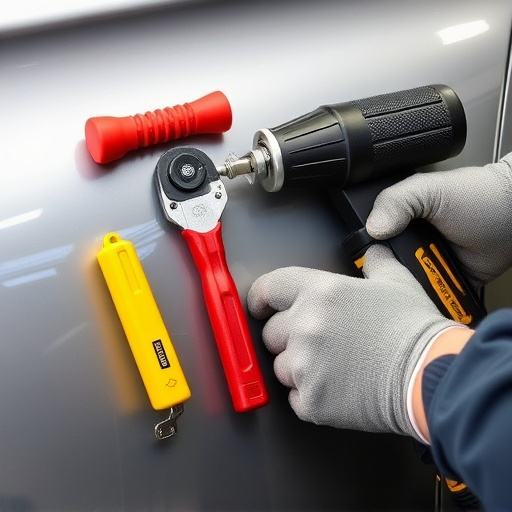
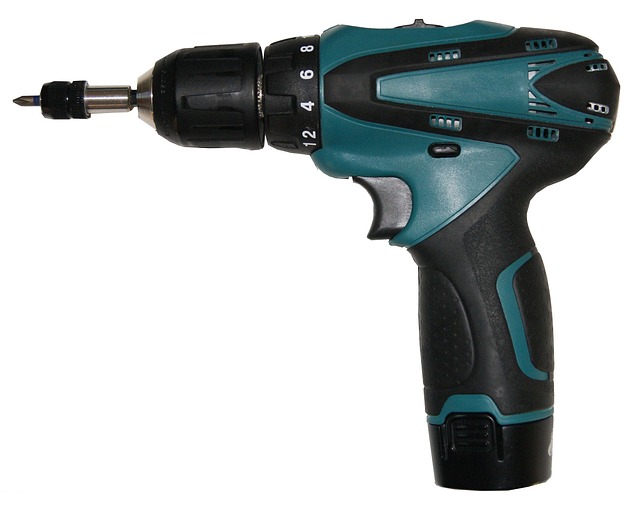
2. Gather Materials: For a DIY approach, you’ll need specific tools and products designed for Tesla multi-coat repair. This typically includes a compound, polish, applicator pads, and a buffer (or a dual-action polisher). Professional auto body shops have access to a wider range of industrial-grade equipment that can make the job faster and more effective.
3. Preparation: Clean the damaged area thoroughly with a dedicated car wash and de-greaser to ensure optimal adhesion for your repair compounds. Remove any dirt, grime, or dust particles to achieve the best results.
4. Sand (if necessary): Lightly sand the damaged area using fine-grit sandpaper to create a slightly rougher surface that will better accept the compound. Be careful not to overdo it; you just want to create a texture for better adhesion.
5. Apply Compound: Using your chosen applicator pad or tool, apply the compound evenly across the damaged area. Work in small sections at a time, following the product’s instructions for ideal application techniques.
6. Buffer/Polish (if DIY): Once the compound has dried (usually within 24 hours), use a buffer (or dual-action polisher) to smooth out the repair and blend it with the surrounding paintwork. This will help minimize the visibility of the repair.
7. Repeat as Needed: For more severe chips or deep swirls, you may need to repeat the compound and polish process multiple times until the damage is significantly reduced or eliminated.
8. Final Touch-ups: After the final polish, reapply a coat of car wax to protect the repaired area and restore its glossy finish.
Tesla’s iconic red multi-coat finish is a beautiful yet delicate exterior. Common issues like chips and swirls can detract from its aesthetic appeal. However, with a meticulous step-by-step repair process, these defects can be effectively addressed, ensuring your Tesla retains its vibrant and protective red multi-coat finish. By following this guide, you’ll be equipped to restore your vehicle’s original gloss and protect its value.