Tesla red multi-coat repair is an art that restores vehicles' original finish seamlessly. It involves thorough inspection, surface preparation with advanced tools, precise color matching, and careful application of coats for a durable, aesthetically pleasing finish. Skilled technicians use high-quality tools like color scanners, digital mixers, precision knives, and professional applicators to ensure optimal adhesion and maintain Tesla vehicles' structural integrity and aesthetic allure. Proper workspace preparation, including cleanliness and adequate lighting, is crucial along with gathering specialized paints and clear coat for a uniform, flawless finish matching Tesla's original specifications.
“Uncover the secrets to mastering Tesla red multi-coat repair with this comprehensive guide. In today’s automotive landscape, ensuring color accuracy is paramount for a flawless finish. We explore the essential tools and techniques for achieving precise repairs on Tesla vehicles, highlighting the importance of color matching in the multi-coat process. From understanding the intricate repair procedure to step-by-step instructions, this article equips you with the knowledge to deliver professional results, ensuring your Tesla retains its vibrant red allure.”
- Understanding Tesla Red Multi-Coat Repair Process
- Essential Tools for Accurate Color Matching
- Step-by-Step Guide to Achieving Professional Results
Understanding Tesla Red Multi-Coat Repair Process
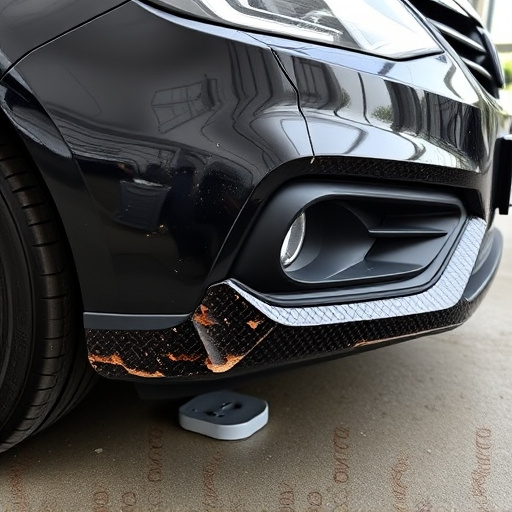
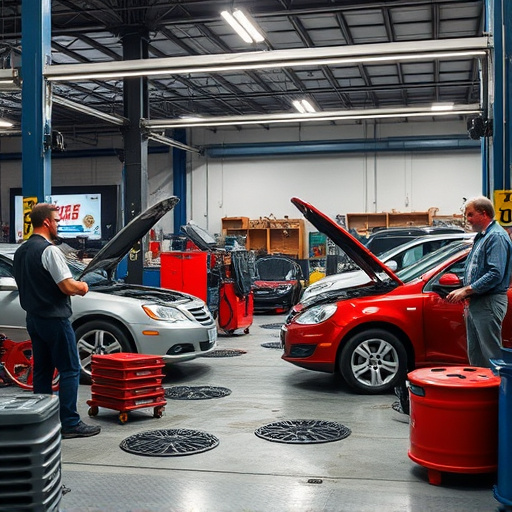
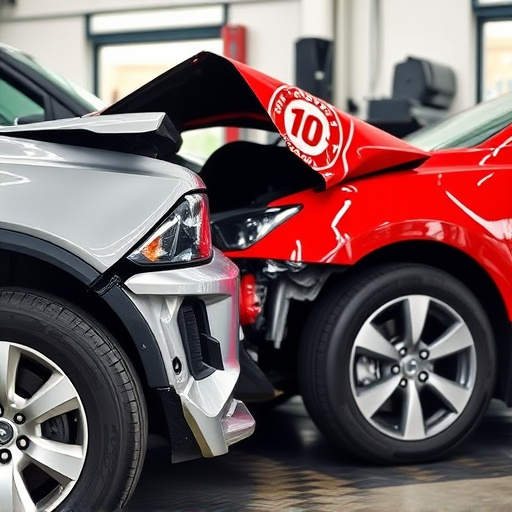
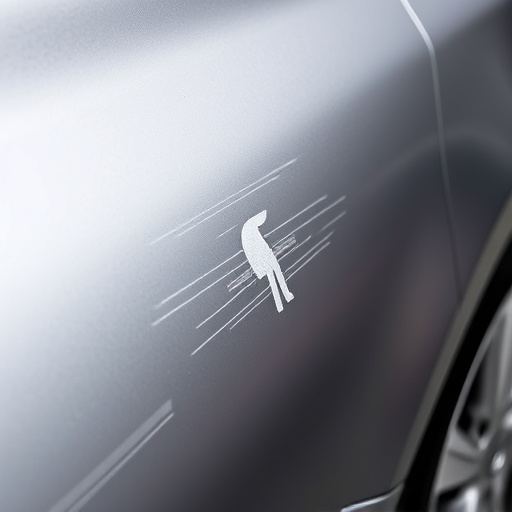
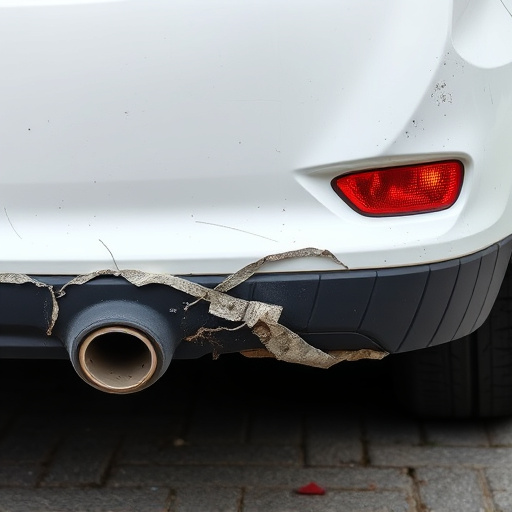
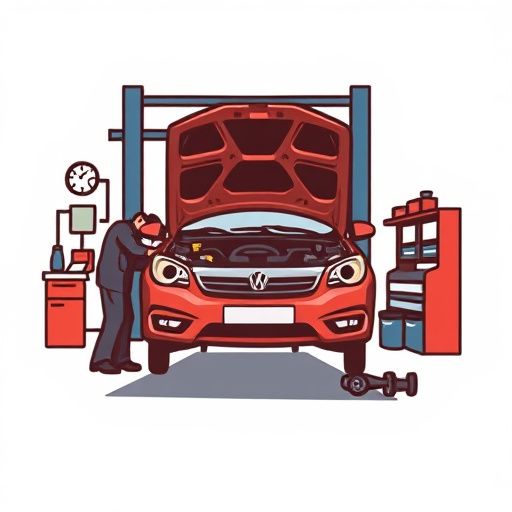
The Tesla Red Multi-Coat Repair process involves a meticulous and specialized technique to ensure the vehicle’s original finish is restored seamlessly. This intricate procedure starts with a thorough inspection to identify the extent of damage, followed by careful preparation of the surface. Auto repair experts use advanced tools to sand, clean, and prime the area, laying the foundation for the multi-coat application. Each coat of paint is precisely layered, creating a durable and aesthetically pleasing finish that matches Tesla’s iconic red hue perfectly.
Understanding the nuances of this process is crucial when seeking top-notch auto repair services. Many collision repair centers offer car paint repair solutions, but only a select few can master the art of multi-coat application. This skill set ensures that your Tesla not only looks brand new but also retains its value through precise and expert restoration work.
Essential Tools for Accurate Color Matching
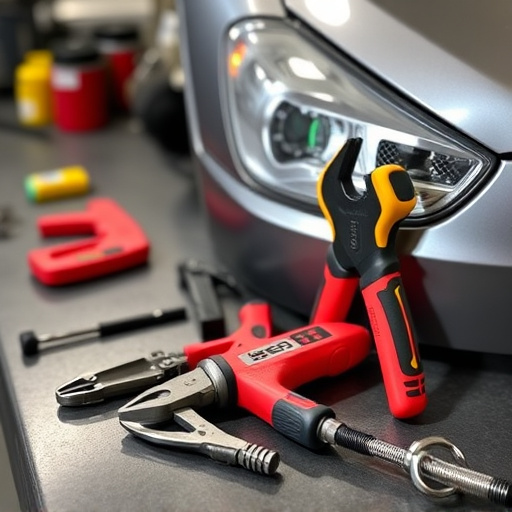
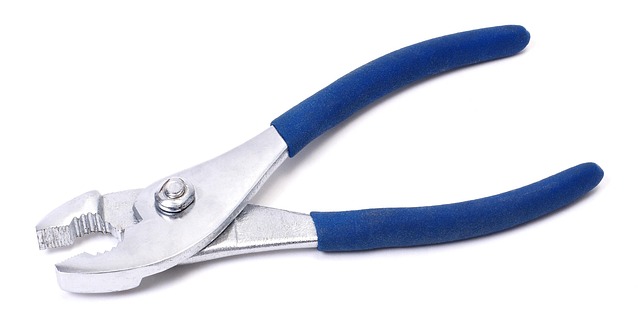
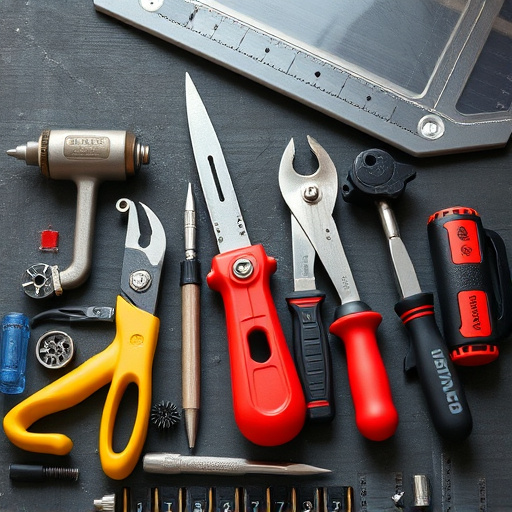
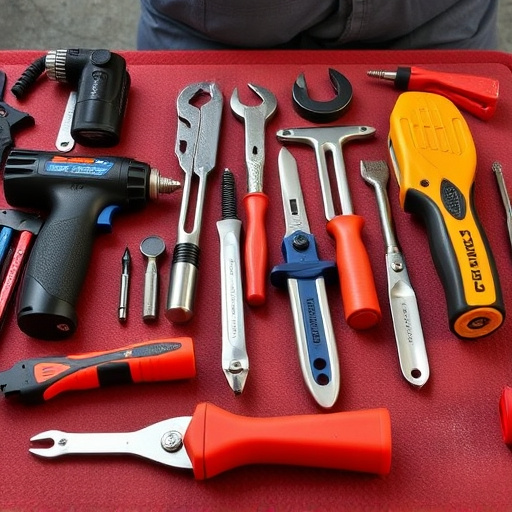
When tackling Tesla red multi-coat repair jobs, accurate color matching is paramount to achieving a flawless finish. The right tools play a crucial role in this precise process. For instance, high-quality color scanners and digital color mixers ensure that the new paint perfectly duplicates the original shade, minimizing the risk of visible discrepancies. These advanced technologies allow for exact measurements and adjustments, catering specifically to Tesla’s intricate multi-coat finishes.
Additionally, a comprehensive set of tools like precision knives, sandpaper of various grits, and professional applicators are essential. These facilitate the meticulous removal of damaged paint layers without compromising the underlying surface. Skilled technicians use them to prepare the area thoroughly, ensuring optimal adhesion for the new coat. With these tools at hand, auto body repairs in Tesla vehicles can restore not just their structural integrity but also their aesthetic allure, preserving the vibrant and distinctive hues like Tesla red.
Step-by-Step Guide to Achieving Professional Results
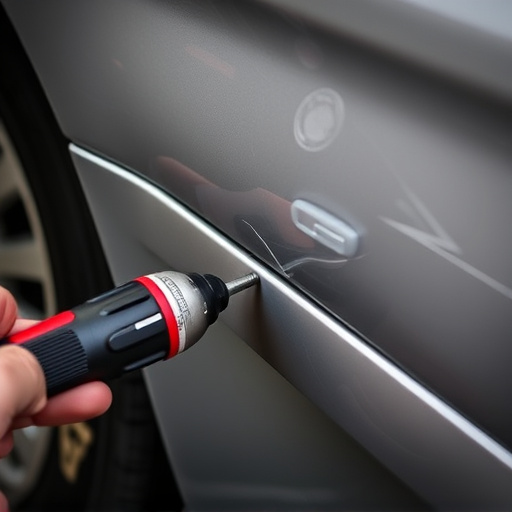
Achieving professional results in a Tesla red multi-coat repair requires meticulous attention to detail and the use of high-quality tools tailored for the job. Start by preparing your workspace, ensuring it’s clean and well-lit. Gather all necessary materials, including specialized paints, applicators, and a clear coat. Begin with a thorough inspection of the damaged area, removing any loose debris or contaminants.
Next, use fine-grit sandpaper to gently buff the surface, creating a smooth base for painting. After cleaning and drying, apply an undercoat to seal the repair area. Allow it to dry completely. Now, it’s time for the multi-coat process: first, apply the basecoat, followed by the red top coat. Utilize even pressure and avoid overloading the applicator to ensure a smooth, uniform finish. Finally, add a protective clear coat to safeguard against future damage, matching the Tesla’s original finish perfectly.
When tackling a Tesla red multi-coat repair job, having the right tools is paramount. By understanding the process and utilizing essential color matching tools, you can achieve professional results that preserve the vehicle’s vibrant exterior. Follow the step-by-step guide to ensure accuracy and precision, ultimately enhancing the car’s overall appearance.