

Tesla Red Multi-Coat paint requires specialized care after damage, with standard repairs potentially compromising its integrity. Reputable collision repair services specializing in Tesla Red Multi-Coat repair preserve exterior beauty and vehicle value. This guide emphasizes assessing damage, using high-quality Tesla-specific materials, thorough preparation, and professional application for best results. Regular washing, waxing, and maintenance protect the finish from environmental damage.
“Tesla vehicles are renowned for their striking aesthetics, thanks in part to the brand’s distinctive red multi-coat paint. However, this intricate finish can be delicate, posing challenges during repairs. This article guides you through the process of repairing Tesla Red Multi-Coat damage without compromising its glossy finish. From understanding the unique properties of the paint to a detailed step-by-step repair guide and best practices, we’ll ensure your vehicle’s vibrant red coat remains flawless.”
- Understanding Tesla Red Multi-Coat Paint: Properties and Challenges
- Step-by-Step Guide: Repairing Scratches and Dings Without Losing Shine
- Tips and Best Practices for Long-Lasting Results
Understanding Tesla Red Multi-Coat Paint: Properties and Challenges
Tesla Red Multi-Coat paint is renowned for its striking aesthetic and advanced properties. It’s more than just a vibrant color; it’s a sophisticated blend designed to withstand the unique demands of Tesla vehicles, offering exceptional durability and chip resistance. However, this coat isn’t invincible. In the event of a collision or minor damage, the multi-coat finish can be compromised, leading to visible imperfections that detract from its original gleam.
Understanding the intricacies of Tesla Red Multi-Coat repair is crucial for maintaining the vehicle’s aesthetics and value. Unlike standard auto body repairs, this process requires specialized techniques and knowledge to preserve the coat’s intricate layers without damaging or altering its vibrant hue. The challenge lies in accurately matching the original finish—a meticulous task that demands experience in automotive collision repair and a keen eye for detail. Choosing reputable collision repair services that specialize in Tesla red multi-coat repair ensures the best outcomes, preserving not just the car’s exterior beauty but also its overall value.
Step-by-Step Guide: Repairing Scratches and Dings Without Losing Shine
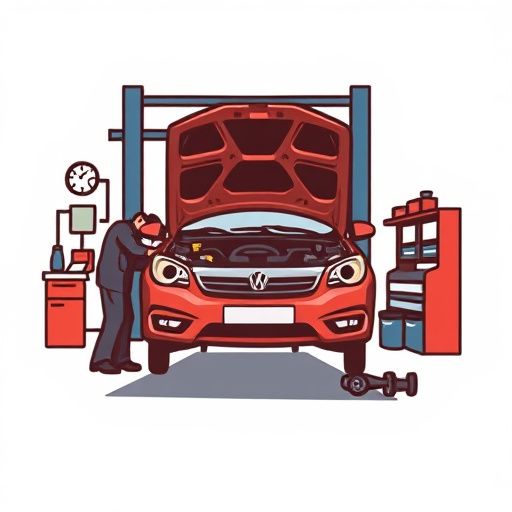
Repairing your Tesla’s red multi-coat finish after a car collision or minor dings can be done with the right techniques to maintain its glossy appearance. Here’s a step-by-step guide to help you achieve a professional-looking repair:
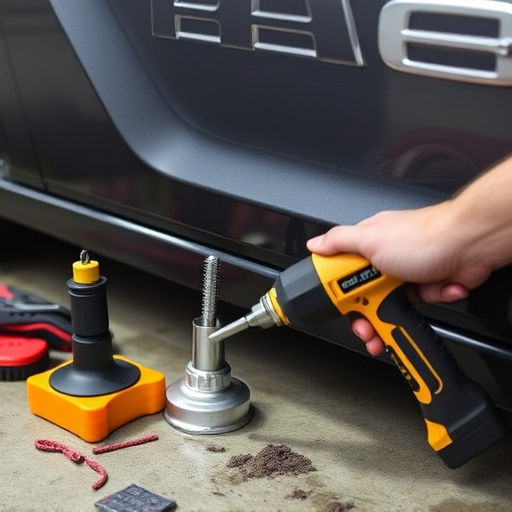
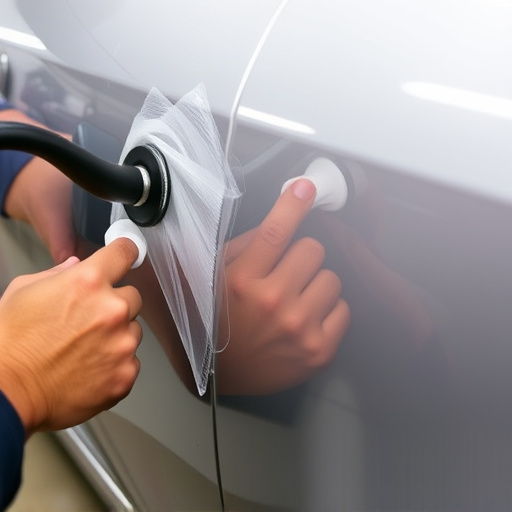
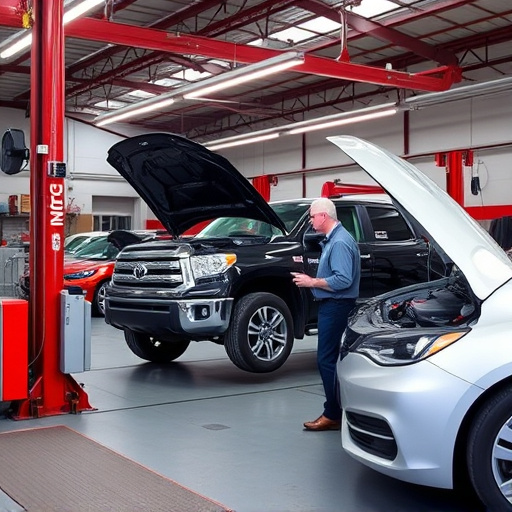
1. Assess the Damage: Begin by inspecting the area carefully. Minor scratches and dents can often be fixed at home, but for more extensive damage, consider seeking professional auto collision repair services. The goal is to address the issue before it affects the overall shine of your Tesla’s red multi-coat finish.
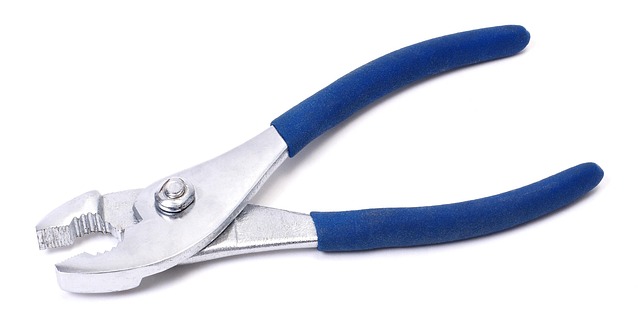
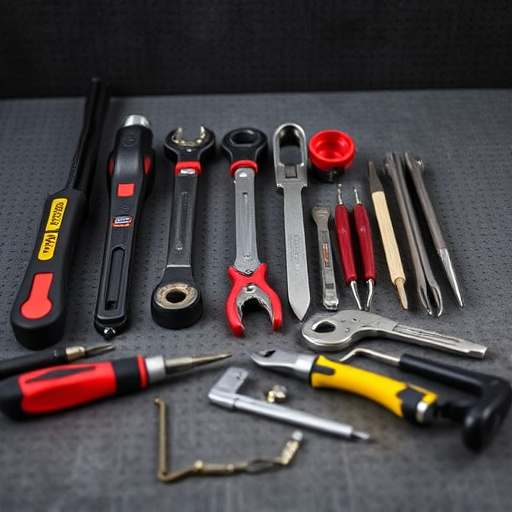
2. Gather Materials: You’ll need specific tools for this task. Gather a car polish or compound designed for brightening and repairing paintwork, a microfiber cloth, a buffer (if available), and a clean sponge. For more severe cases, you might also require a dent puller or a professional-grade tool to remove dents without damaging the paint. Remember, using the right materials is crucial for achieving a seamless repair that maintains the shine.
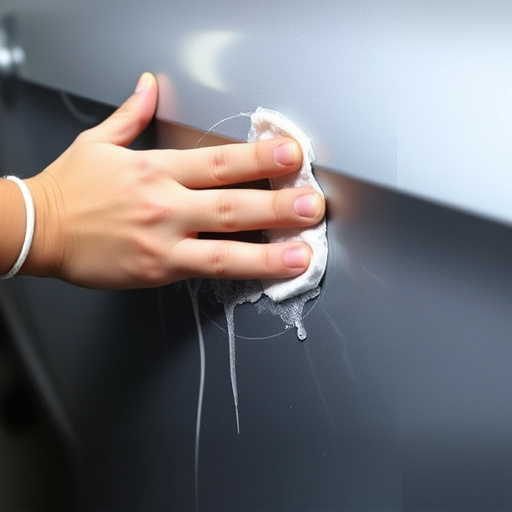
3. Prepare the Area: Wash and dry the damaged area thoroughly. Ensure it’s free from dirt, dust, or any debris. This step ensures your polish adheres properly and provides an even surface to work on. When preparing for auto glass repair, take special care around window frames and seals to avoid damaging these components.
4. Apply Polish or Compound: Use the car polish or compound and follow the product’s instructions. Typically, you’ll apply a small amount with the sponge or cloth, then use moderate pressure to rub it into the scratch or ding. Work in small sections to ensure even application. For deep scratches, consider using a buffer for better results.
5. Buff and Wipe: After allowing the polish to set (follow product guidelines), use a clean microfiber cloth to buff the area gently. This step reveals the repaired finish, restoring its shine and smoothness.
Tips and Best Practices for Long-Lasting Results
When undertaking Tesla red multi-coat repair, adhering to best practices is crucial for achieving long-lasting results that maintain the vehicle’s pristine shine. One key tip is to use high-quality paint and coatings specifically designed for Tesla vehicles to ensure a perfect match with the original finish. Prioritizing a clean and prepared surface before application is also essential; this includes thorough washing, degreasing, and sanding to remove any contaminants or old coatings.
For optimal results, consider professional car bodywork services that have experience with vehicle restoration. Skilled technicians employ precise techniques and tools to ensure even application and seamless blending of the new coat with existing layers. Regular maintenance, such as regular washing and waxing, after repair is vital to preserve the shine and protect the finish from environmental damage, extending the life of your Tesla’s stunning multi-coat exterior.
Repairing a Tesla Red Multi-Coat finish without compromising its shine is achievable with the right techniques. By understanding the unique properties of this advanced paint job and following a meticulous step-by-step guide, you can effectively address scratches and dings. Adhering to best practices ensures long-lasting results, preserving the car’s vibrant and glossy appearance. With dedication and the proper tools, Tesla owners can now tackle minor damage themselves, ensuring their Red Multi-Coat remains a stunning feature for years to come.